EZLeaves Tutorial
This brief tutorial should get you up and running
with EZLeaves.
Installing EZLeaves
First thing you need to do is install the application.
Download and run the installer. This
will create an EZLeaves shortcut on your desktop, and also one in the
Start>Program Files\EZLeaves\ folder.


Running EZLeaves.exe
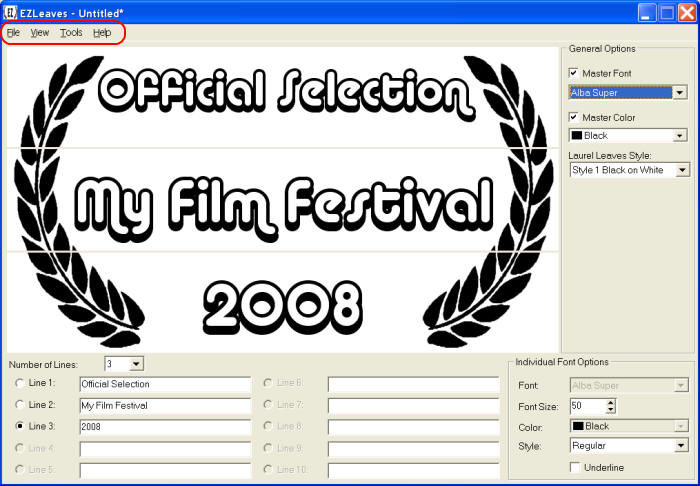
Double-Click on the shortcut for EZLeaves and you will be greeted with the main
screen:
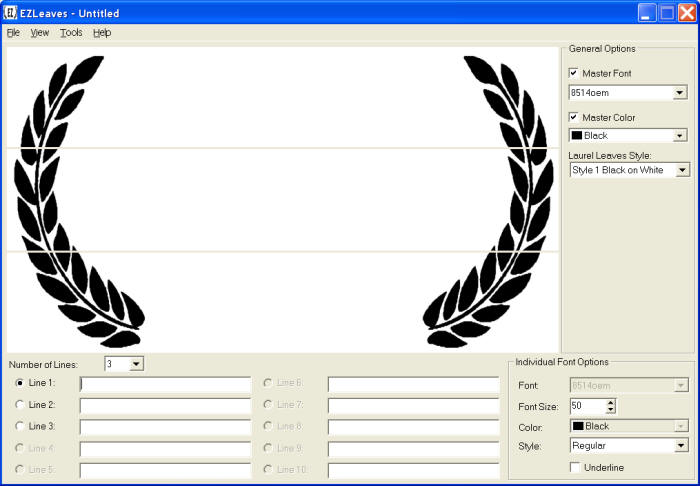
EZLeaves Main Screen
The main screen contain 4 different areas, which are explained below:
Laurel Leaves Area
The Laurel Leaves area shows the laurel leave image. You can
change the style of this area by selecting a different style using the drop-down
box labeled Laurel Leave Style in the General Options section on
the right. The grey lines you see in the image represent the borders of
each line of text. Hovering the mouse over these lines and clicking on
them allows you to resize each line of text on the image. Clicking on each
area within the image will focus the associated edit field in the Number of
Lines area.
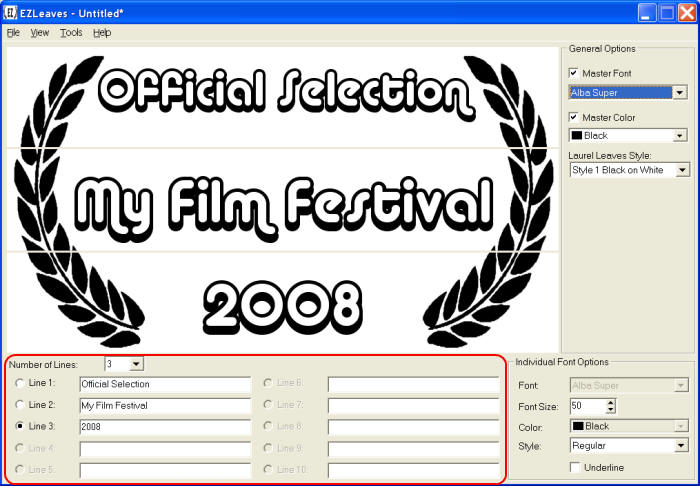
Number of Lines Area
The Number of Lines area allows you to define how many lines of text
you want on your laurel image. You can specify anywhere between 3 and 10
lines using the drop-down field labeled Number of Lines. As more
lines are selected, their associated fields will be enabled and you can type
text in them. As you type in these fields, the text will appear on the
laurel image.
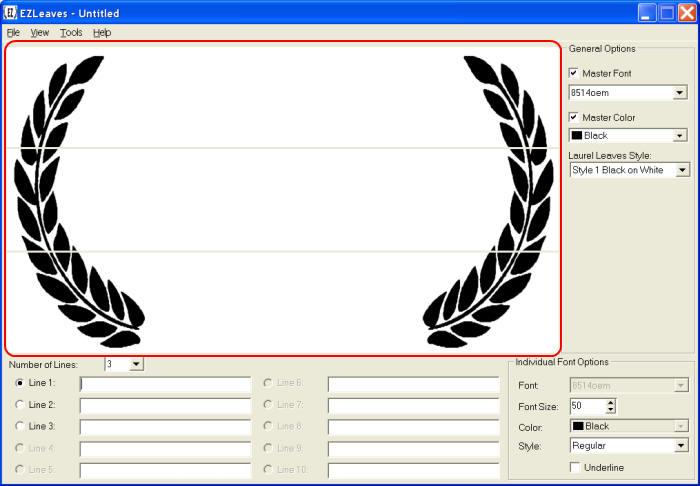
General Options Area
The General Options Area contains several settings:
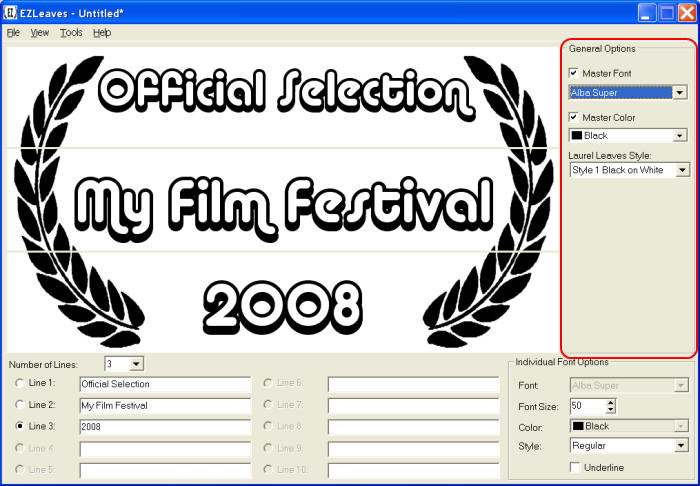
Master Font
When this field is checked, selecting a system-defined Font from the
drop-down list below it will change all the fonts on the image. Un-checking
this option allows you to define a different font for each line of text on the
image. Selecting the font drop-down box and using your mouse scroll wheel
to iterate through all of your fonts is a quick and easy way to see which font
looks the best.
Master Color
Similar to the Master Font field, when this field is checked, selecting a
color from the drop-down list below it will change the color of all the fonts on
the image. Un-checking this option allows you to define a different font
color for each line of text on the image.
Laurel Leaves Style
This option allows you to select from the 4 basic styles and colors of
laurel leaves.
Main Menu
The Main Menu area gives you access to several functions:
File Menu
The following options are available on the File Menu:
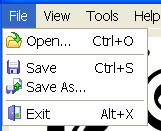
Open - Allows you to open an existing
EZLeaves template file (*.ezl).
Save - Allows you to save the current EZLeaves image to a
template file (*.ezl).
Save As - Allows you to save the current EZLeaves image to
another filename
Exit - Exits the application..
View Menu
The following option is available on the View Menu:

Preview - Allows you to toggle viewing the current image with or
without the grey lines in the Laurel Leaves area.
Tools Menu
The following options are available on the Tools Menu:
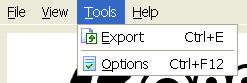
Export
This option allows you to export the current EZLeaves image to an
image file. Selecting this option will display the following screen:
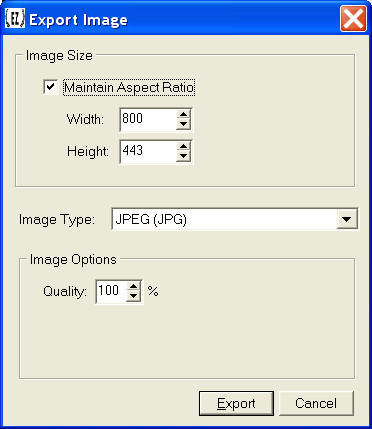
Image Size - Allows you to define the
height and width of the resulting image file. If the Maintain Aspect Ratio
is checked, any numbers typed into the fields will automatically adjust the
other based on the original aspect ratio.
Image Type - You can select to export to JPG, BMP or GIF.
For exporting to JPG, you can specify the Quality percentage (1-100%) in the
Image options area. If you export to BMP, you can specify the bitmap
format (24 Bit, 256 color, 16 color, Black and White). If you export to
GIF, you can specify whether or not the image is transparent.
NOTE: Changing the options for each image
will affect the image's size and quality.
Options
Selecting this item will display the EZLeaves options screen:
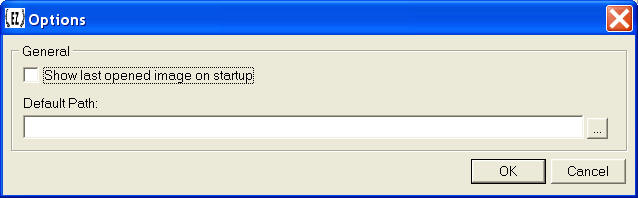
Show last opened image on startup - With this option enabled, the
last image template file (*.ezl) that is opened will automatically be opened the
next time EZLeaves starts.
Default Path - Allows you to select a
folder that acts as the default folder for all save/open/export dialogs.
Help
The following options are available on the Help menu:
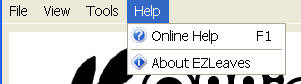
Online Help - Displays the help page
you're currently reading.
About EZLeaves - Shows the About box for EZleaves.
Individual Folder Options Area
Each line of text on the image has its own individual font settings.
Clicking on each line of text will display the font settings for each line in
this area.
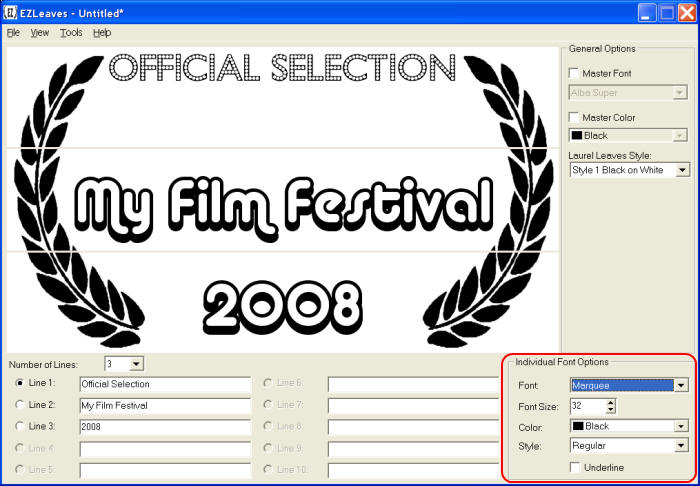
Font
With the Master Font option disabled, you can define a different font for
each line of text.
Font Size
This is where you define the size of the font for each line of text.
You can use the up and down arrows to increase or decrease the size, or just
type a size into the field. Alternatively (and possibly easier) you can
change the size of the line of text by hovering your mouse over each line in the
Laurel Leaves area and spinning the wheel on your mouse (if you have one) up and
down.
Color
With the Master Color option disabled, you can define a different color for
each line of text.
Style
This option allows you to set the text to Regular, Bold, Italic or Bold
Italic.
Underline
This option will underline the text in the Laurel Leaves area.
EZLeaves Tips and Tricks
- To easily change the size of the font on each line, simply
hover the mouse over the line in the Laurel Leaves area and use your mouse
scroll wheel.
- To easily and quickly see how all of your system defined
fonts look on the image, enter your text in the lines area, then select the
Master Font drop-down list. Use the mouse wheel to scroll through all of
your defined fonts and see how they look applied to your image.
- If the font you're using is spaced oddly, use extra lines
as spacers. Just set the number of lines to 1 or 2 lines extra, then
size those extra lines by hovering your mouse over the grey line to size them
to the desired height. This should in turn move the lines above or below
it, hopefully providing the correct spacing.
- Clicking on each line in the laurel leave image area will
focus its associated edit field.
Feature Request and Bug Reports
Do you have a great idea for a feature to include in
EZLeaves, or maybe you found a bug that is preventing you from using it?
Send an e-mail to
ezleaves@moviesbymartin.com with your feature request or bug
report.
|